


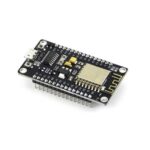
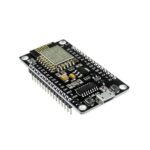
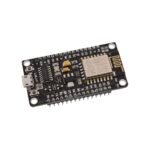
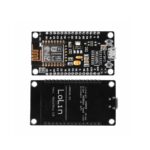
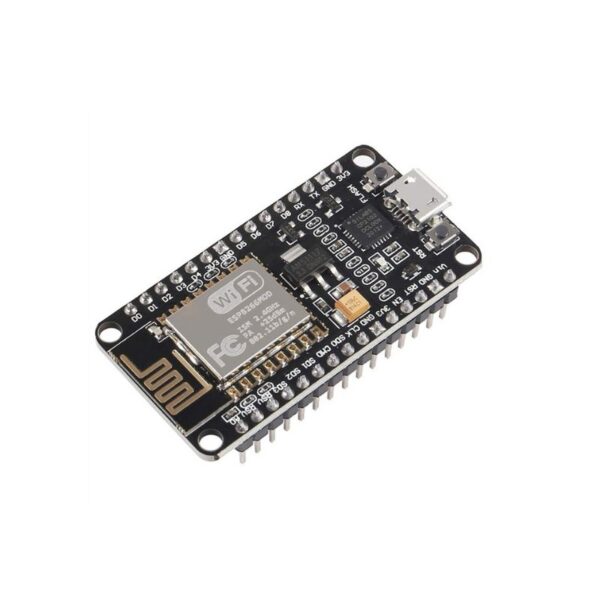
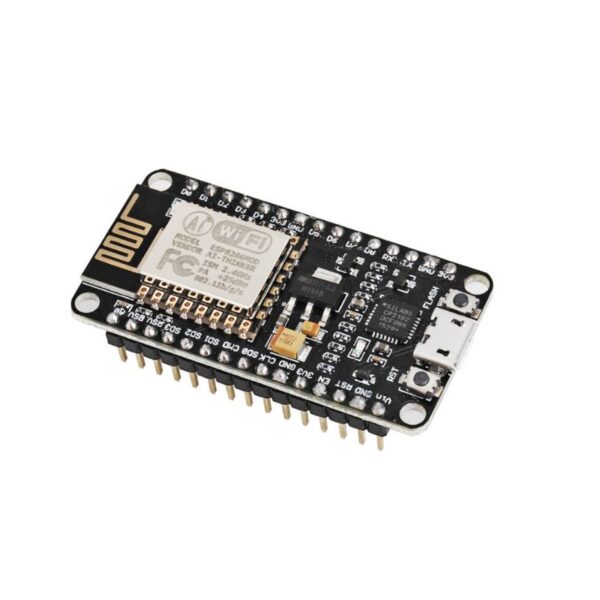
NodeMCU ESP8266 WiFi ESP-12E CH340 IoT Dev Board
- 32 KB instruction RAM
- 80 KB user data RAM
- 16 KB ETS system data RAM
- External QSPI flash: up to 16 MB is supported (512 KB to 4 MB typically included)
- IEEE 802.11 b/g/n Wi-Fi
- Integrated TR switch, balun, LNA, power amplifier and matching network
- WEP or WPA/WPA2 authentication, or open networks
- 16 GPIO pins
රු800.00
1 in stock
ESP8266 NodeMcu is a popular and widely used development board based on the ESP-12E WiFi Module that combines elements of easy programming with Arduino IDE (C\C++) and WiFi capability. Through the build-in programmer and CH340G USB-to-Serial chip, flashing the ESP8266 and serial output on a PC, development and prototyping projects are done with ease. Just like Arduino boards, the ESP8266 NodeMcu has GPIO pins, voltage regulator, ADC, Micro-USB port (for flashing and serial output) – all on one board. On top of that the ESP8266 NodeMcu has a full WiFi that takes care of the WiFi communication to a server or client.
The ESP8266 is a system on a chip (SoC), manufactured by the Chinese company Espressif. It consists of a Tensilica L106 32-bit microcontroller unit (MCU) and a Wi-Fi transceiver. It has 11 GPIO (general-purpose input/output) pins and an analog input as well. This means that you can program it like any other normal Arduino or other microcontroller. And on top of that, you get Wi-Fi communication, so you can use it to connect to your Wi-Fi network, connect to the Internet, host a web server with real web pages, let your smartphone connect to it, etc. The possibilities are endless! It’s no wonder that this chip has become the most popular IOT device available.
It contains a built-in 32-bit low-power CPU, ROM, and RAM. It is a complete and self-contained Wi-Fi network solution that can carry software applications as a stand-alone device or be connected with a microcontroller (MCU). The module has built-in AT Command firmware and can be used with any MCU via the COM port. The ESP8266 can be flashed and programmed using the Arduino IDE. Due to its large open-source developer community, a large number of libraries for this popular microcontroller are available.
Processor:
The ESP8266EX integrates a Tensilica L106 32-bit RISC processor, which achieves extra-low power consumption and reaches a maximum clock speed of 160MHz. The real-time operating system (RTOS) and Wi-Fi stack allow 80% of the processing power to be available for user application programming and development.
Features:
- 32 KB instruction RAM
- 80 KB user data RAM
- 16 KB ETS system data RAM
- External QSPI flash: up to 16 MB is supported (512 KB to 4 MB typically included)
- IEEE 802.11 b/g/n Wi-Fi
- Integrated TR switch, balun, LNA, power amplifier and matching network
- WEP or WPA/WPA2 authentication, or open networks
- 16 GPIO pins
- SPI
- I²C (software implementation)
- I²S interfaces with DMA (sharing pins with GPIO)
- UART on dedicated pins, plus a transmit-only UART can be enabled on GPIO2
- 10-bit ADC (successive approximation ADC)
All ESP8266 variants have an ESP8266EX core processor and a Tensilica L106 32-bit microcontroller unit. This is a low-cost, high-performance, low-power, easy-to-program, wireless SoC (system-on-chip). It provides capabilities for 2.4 GHz Wi-Fi (802.11 b/g/n, supporting WPA/WPA2), general-purpose input/output (13 GPIO), Inter-Integrated Circuit (I2C), analog-to-digital conversion (10-bit ADC), Serial Peripheral Interface (SPI), I2S interfaces with DMA (sharing pins with GPIO), UART (on dedicated pins, plus a transmit-only UART can be enabled on GPIO2), and pulse-width modulation (PWM) and
It has a built-in programmer and a voltage regulator that allow flashing and powering the device via micro-USB. The system operates at 3.3V.
Specifications:
- Tensilica L106 32-bit micro controller unit at 80 MHz (or overclocked to 160 MHz)
- 32 kB instruction RAM
- 80 kB user data RAM
- 16 kB ETS system data RAM
- Flash Memory 4Mb
- USB – micro USB port for power, programming and debugging
- 13 GPIO pins
- 802.11 b/g/n, supporting WPA/WPA2
- STA / AP modes support
- TCP / IP protocol stack, One socket
- TCP / UDP Server and Client
- Serial port baud rate configuration: 1200/2400/4800/9600/19200/38400/57600/74800/115200 bps
- Pin-compatible with Arduino UNO, Mega
- KEY button: modes configuration
- 32-bit hardware timer
- WiFi operation current: continuous transmission operation: ≈70mA (200mA MAX), deep sleep mode: <3mA>
- Serial WiFi transmission rate: 110-460800bps
- Temperature: -40℃ ~ + 125 ℃
- Humidity: 10%-90% non-condensing
- Weight: about 20g (0.7oz)
- Pulse-Width Modulation (PWM)
- Interrupt capability
- 3.3V operating voltage, internal voltage regulator allows 5V on power input
- maximum current through GPIO pins: 12mA (source), 20mA (drain)
- available firmware for Arduino IDE
- WebSocket libraries available
The power of makeup is undeniable; our favorite products help us create the beauty looks we love, enhance our favorite features, and encapsulate our individual definitions of beauty. The best makeup routines help the modern woman boost her confidence and face the world head on—no matter what the day has in store.
What Is the Correct Order of Makeup?
We know you’ve watched countless makeup tutorials online, seen your favorite celebrities get their makeup done with their favorite cosmetics, and you may have even done yours alongside them. But, there are never too many helpful tools and guides to aid you along on your makeup journey!

Liquid foundation
These are water-based solutions that may contain certain vitamins.
Moisturizes
Soothes irritation
That is where we come in with our guide that gives you the steps to apply makeup. Before we give you the 4-1-1 on steps to apply makeup, we want to let you know there really is no set-in-stone correct order. When it comes to following makeup steps in order, you want to remember that you should do what works best for your skill level, your skin.
Reviews
There are no reviews yet.
Related Products

Recently Viewed


Reviews
There are no reviews yet.